Kitchen Cabinet Corner Solutions
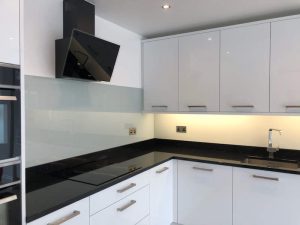
U-Shaped and L Shaped kitchens will have corner areas that you will need to access. I have focused on the base unit corner storage below

U-Shaped and L Shaped kitchens will have corner areas that you will need to access. I have focused on the base unit corner storage below
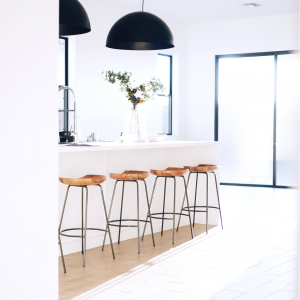
When choosing your seating for your kitchen, there are a few specifications to consider, such as the weight of the stool, the material, the shape
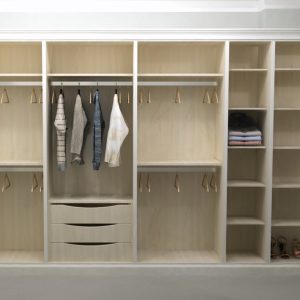
Clearing out your existing wardrobe is a great way to plan for your new units. Take the opportunity to declutter and work out how much

The key to a good home office is to create a space that is both comfortable and organized, so you can be your most productive